
Build AI Chat with OpenAI's Assistants API
AI Chat using OpenAI Assistants API
On November 7th OpenAI released its Assistants API, enabling chat bot with context retrieval implementations without needing a messages or vector database. In this post, we’ll cover how to leverage this API to build a fully functioning AI chat interface.
The implementation here can be a basis for a more complex and tailored experience, which ties app-specific and user-specific information together in a single interface, surpassing the capabilities of the standalone ChatGPT.
This post is part of a series where we compare three different implementations of the same AI chatbot and summarize the differences:
- Using OpenAI’s Assistants API (this post)
- Using Langchain with our own storage
- Custom message store and vector search retrieval
- Are vector databases dead?
All code can be found on GitHub.
AI Chat implemented with the OpenAI Assistants API.

Overview of the user experience
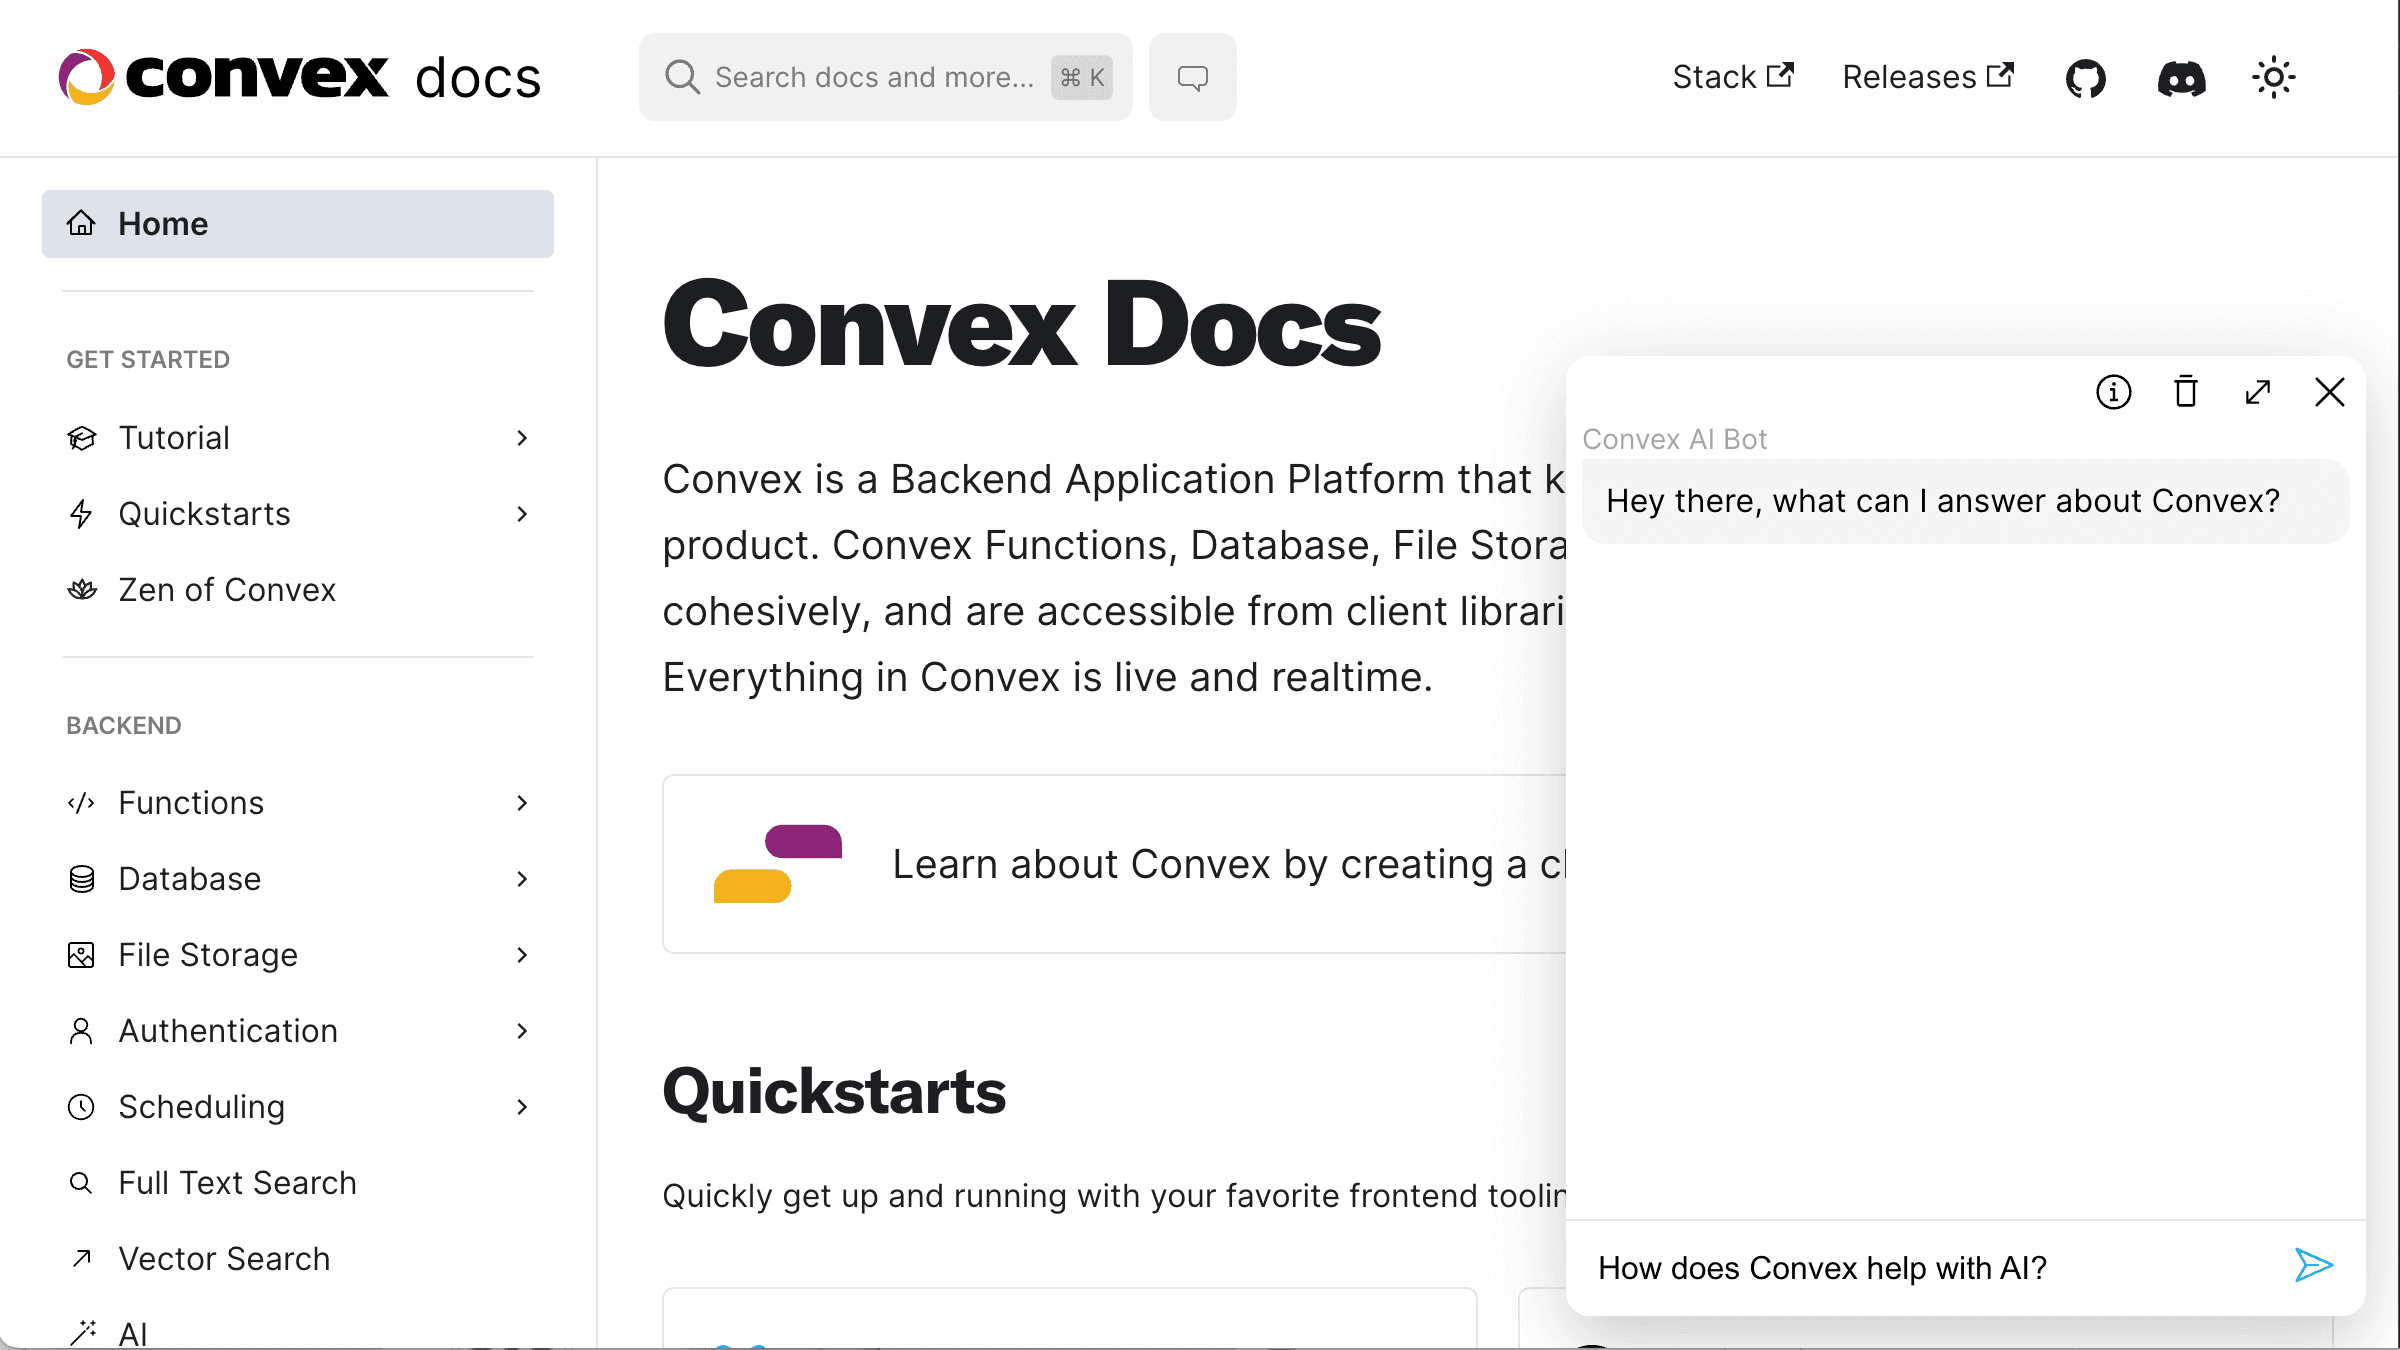
To compare the three approaches we’ll build an AI chatbot for the Convex docs site. You can go to the docs now and interact with the bot there:
docs screenshot with ai chat bot
We’re not just exposing the standard LLM model (such as GPT4), but we’re also retrieving the relevant documents for the question and passing them to the LLM as context (RAG).
Overview of RAG chat
Here’s a graphical overview of the steps involved. Thanks to the new Assistants API, OpenAI will take care of most of this process.
 process overview for RAG chat
We need to load our data, optionally split it, and then “embed” it (run it through a model that encodes the data into an array of numbers). This step needs to happen at least once, but we probably want to run it periodically as the source data (in our example the Convex documentation and other information about Convex) changes.
After we ingest data, we can serve traffic. In our case, we reply to user questions about Convex. Each question can be embedded (using the same model that we used during the ingest step), and then the embedding is used to look up the most relevant contextual data. We then pass on this contextual data, the question, and any chat history to the LLM as a prompt, and return the LLM’s answer back to the user.
As we’ll see in the second post, a rephrasing step can be added to enable searching data based on the whole chat history, not just the last user message. The Assistants API might or might not be using this technique, as the search is completely abstracted away from us.
Our Server Setup & Schema
While the Assistants API is powerful, we still want our own server for a few reasons:
- We don’t want to expose our OpenAI API key. The OpenAI requests need to be authenticated, but if we send them from the browser, any user could see our key and use it themself.
- We’ll use the server to pre-process our documentation data before uploading it to OpenAI.
- Future: Having a server can enable the Assistants API to call functions that we can expose to take some action on behalf of the user.
- Future: If we want to build a more sophisticated experience, we can directly access our product database during the chat.
We’ll define the following three tables in Convex(source):
1export default defineSchema({
2  documents: defineTable({
3    // The original page URL for the document
4    url: v.string(),
5    // The parsed document content
6    text: v.string(),
7    // The ID returned after uploading to OpenAI
8    fileId: v.union(v.string(), v.null()),
9  }).index("byUrl", ["url"]),
10  messages: defineTable({
11    // Whether the message is from the AI or the human
12    isViewer: v.boolean(),
13    // Which conversation this message belongs to
14    sessionId: v.string(),
15    // Message content
16    text: v.string(),
17  }).index("bySessionId", ["sessionId"]),
18  threads: defineTable({
19    // Client-generated conversation identifier
20    sessionId: v.string(),
21    // Conversation identifier used by the OpenAI server
22    threadId: v.string(),
23  }).index("bySessionId", ["sessionId"]),
24});
25
Since we’ll be using the OpenAI SDK, we’ll set our OPENAI_API_KEY in the environment variable settings on the Convex dashboard.
Ingest data: Creating an assistant
We’ll start by creating an OpenAI assistant. You can do this on the OpenAI dashboard, or using the API (source):
1export const createAssistant = internalAction({
2  args: {},
3  handler: async () => {
4    const openai = new OpenAI();
5    const assistant = await openai.beta.assistants.create({
6      instructions:
7        "Answer the user questions based on the provided documents " +
8        "or report that the question cannot be answered based on " +
9        "these documents. Keep the answer informative but brief, " +
10        "do not enumerate all possibilities.",
11      model: "gpt-4-1106-preview",
12      tools: [{ type: "retrieval" }],
13    });
14    return assistant.id;
15  },
16});
17
You can run this action from the Convex dashboard and then save the returned ID as ASSISTANT_ID in your Convex backend’s environment variables.
Ingest data: Loading data
We’ll cover the detailed description of scraping in the third post in the series, but here we’ll discuss how to upload data to our OpenAI assistant.
While scraping the docs, we stored the data in the "documents" table. We also have a field on each document that stores the fileId returned by OpenAI after we upload it. Here’s the function responsible for uploading our files to OpenAI and attaching them to the assistant (source):
1export const uploadDocuments = internalAction({
2  args: {
3    documentIds: v.array(v.id("documents")),
4  },
5  handler: async (ctx, { documentIds }) => {
6    const openai = new OpenAI();
7    await map(documentIds, async (documentId) => {
8      const document = await ctx.runQuery(internal.init.getDocument, {
9        documentId,
10      });
11      if (document === null || document.fileId !== null) {
12        return;
13      }
14      const { text, url } = document;
15      const blob = new File([text], fileName(url));
16
17      const { id: fileId } = await openai.files.create({
18        file: blob,
19        purpose: "assistants",
20      });
21      await openai.beta.assistants.files.create(process.env.ASSISTANT_ID!, {
22        file_id: fileId,
23      });
24      await ctx.runMutation(internal.init.saveFileId, { documentId, fileId });
25    });
26  },
27});
28
This action uses the openai.files.create API to upload each document as a Blob, and then the openai.beta.assistants.files.create to attach the file to our assistant. You could also manually upload the files on the OpenAI dashboard.
When ready, we can upload and attach all documents from our table in bulk (source).
Ingest data: Splitting & embedding data
Nothing to do here, as OpenAI takes care of this step for us after we upload and attach the files automatically! 👏
Serving traffic
Here’s a sequence diagram for the traffic-serving portion of our app:
 overview of answer implementation
Serving traffic: answering a question
When a user hits send in our little chat box, we’ll kick off generating the answer (source):
1export const send = mutation({
2  args: {
3    message: v.string(),
4    sessionId: v.string(),
5  },
6  handler: async (ctx, { message, sessionId }) => {
7    await ctx.db.insert("messages", {
8      isViewer: true,
9      text: message,
10      sessionId,
11    });
12    await ctx.scheduler.runAfter(0, internal.serve.answer, {
13      sessionId,
14      message,
15    });
16  },
17});
18
First, we save the message to the "messages" table, which will update our UI (if you’re not familiar with Convex and wonder how this works, head over to the Convex tutorial).
The scheduler.runAfter(0, …) call is Convex parlance for “run an async job immediately”.
Let’s look at the implementation of the answer action (source):
1export const answer = internalAction({
2  args: {
3    sessionId: v.string(),
4    message: v.string(),
5  },
6  handler: async (ctx, { sessionId, message }) => {
7    const openai = new OpenAI();
8
9    const threadId = await getOrCreateThread(ctx, openai, sessionId);
10
11    const { id: lastMessageId } = await openai.beta.threads.messages.create(
12      threadId,
13      { role: "user", content: message }
14    );
15
16    const { id: runId } = await openai.beta.threads.runs.create(threadId, {
17      assistant_id: process.env.ASSISTANT_ID!,
18    });
19
20    await pollForAnswer(ctx, { threadId, sessionId, lastMessageId, runId });
21  },
22});
23
The steps we follow are:
- Get or create an OpenAI thread for the current session
- Add the user message to the OpenAI thread
- Create an assistant run
- Start polling for the answer
Polling is needed because as of the time of this writing, the Assistants API doesn’t support streaming or a single-shot async request.
Here’s the function performing the polling every 500ms1 (source):
1async function pollForAnswer(
2  ctx: ActionCtx,
3  args: {
4    sessionId: string;
5    threadId: string;
6    runId: string;
7    lastMessageId: string;
8  }
9) {
10  const { sessionId, threadId, runId, lastMessageId } = args;
11  const openai = new OpenAI();
12  while (true) {
13    await sleep(500);
14    const run = await openai.beta.threads.runs.retrieve(threadId, runId);
15    switch (run.status) {
16      case "failed":
17      case "expired":
18      case "cancelled":
19        await ctx.runMutation(internal.serve.addMessage, {
20          text: "I cannot reply at this time. Reach out to the team on Discord",
21          sessionId,
22        });
23        return;
24      case "completed": {
25        const { data: newMessages } = await openai.beta.threads.messages.list(
26          threadId,
27          { after: lastMessageId, order: "asc" }
28        );
29        await map(newMessages, async ({ content }) => {
30          const text = content
31            .filter((item): item is MessageContentText => item.type === "text")
32            .map(({ text }) => text.value)
33            .join("\n\n");
34          await ctx.runMutation(internal.serve.addMessage, { text, sessionId });
35        });
36        return;
37      }
38    }
39  }
40}
41
When the run is "completed" we want to store the new message in our "messages" table, which will update the UI. We do this using the { after: lastMessageId, order: "asc" } arguments to the openai.beta.threads.messages.list API to get only the new messages, and then we save them to our database in the addMessage mutation (source).
Serving traffic: listing messages
There’s only one more endpoint left to cover, and that’s the query that returns all messages for a given session (source):
1export const list = query({
2  args: {
3    sessionId: v.string(),
4  },
5  handler: async (ctx, args) => {
6    return await ctx.db
7      .query("messages")
8      .withIndex("bySessionId", (q) => q.eq("sessionId", args.sessionId))
9      .collect();
10  },
11});
12
The client subscribes to this query and will get all messages for the session, automatically updating when new messages are added. Learn more about Convex reactivity here.
And that’s it! The backend for our RAG chat is complete.
Frontend Implementation
You can find the front-end implementation of our chat box here. It is only about 250 lines of React and Tailwind CSS, but it does pack a lot of functionality:
- Realtime reactive updates with the LLM replies.
- Preserving the session ID in
sessionStorage(so it survives page reloads). - Scrolling to the bottom of the thread.
- Stop scrolling if the user scrolls up.
- Opening the dialog in a React portal.
- Disabling the send button when the input is empty.
- Two different UIs: Small in the corner of the page and expanded.
- Info icon with a tooltip for additional education/disclaimer.
- Loading indicators
- Dark mode
If you check out the repo you can see that Convex is only used for the chat modal. This is a good example if you want to drop the chat component into an existing website.
Conclusion
OpenAI’s assistants API makes it quite easy to set up an AI chatbot with context retrieval. The API is in beta and some of its edges are a bit rough at the moment, but these issues will likely be quickly addressed. The Assistants API has additional capabilities we didn’t discuss, mainly the ability for the assistant to run custom functions. This might enable tighter integration with our product database. Alternatively, we can implement context retrieval directly on our server. We cover the first such implementation, using LangChain, in our next post. To see how all of the implementations compare, see this post.
Footnotes
-
You can also use the scheduler to do this, by re-scheduling the function every 500ms with
scheduler.runAfter(500,. The while loop approach here is just for simplicity. ↩
Convex is the backend platform with everything you need to build your full-stack AI project. Cloud functions, a database, file storage, scheduling, workflow, vector search, and realtime updates fit together seamlessly.