
Build AI Chat with Convex Vector Search
AI Chat with Convex Vector Search
Convex is a full-stack development platform and cloud database, including built-in vector search. In this third post in our series, we’ll build an AI-powered chat interface using Convex, with our own message storage and context retrieval.
All code can be found on GitHub.
AI Chat implemented with Convex vector search

This post is part of a series where we compare three different implementations of the same AI chatbot and summarize the differences:
- Using OpenAI’s Assistants API
- Using Langchain with our own storage
- Custom message store and vector search retrieval (this post)
- Are vector databases dead?
Overview of the user experience
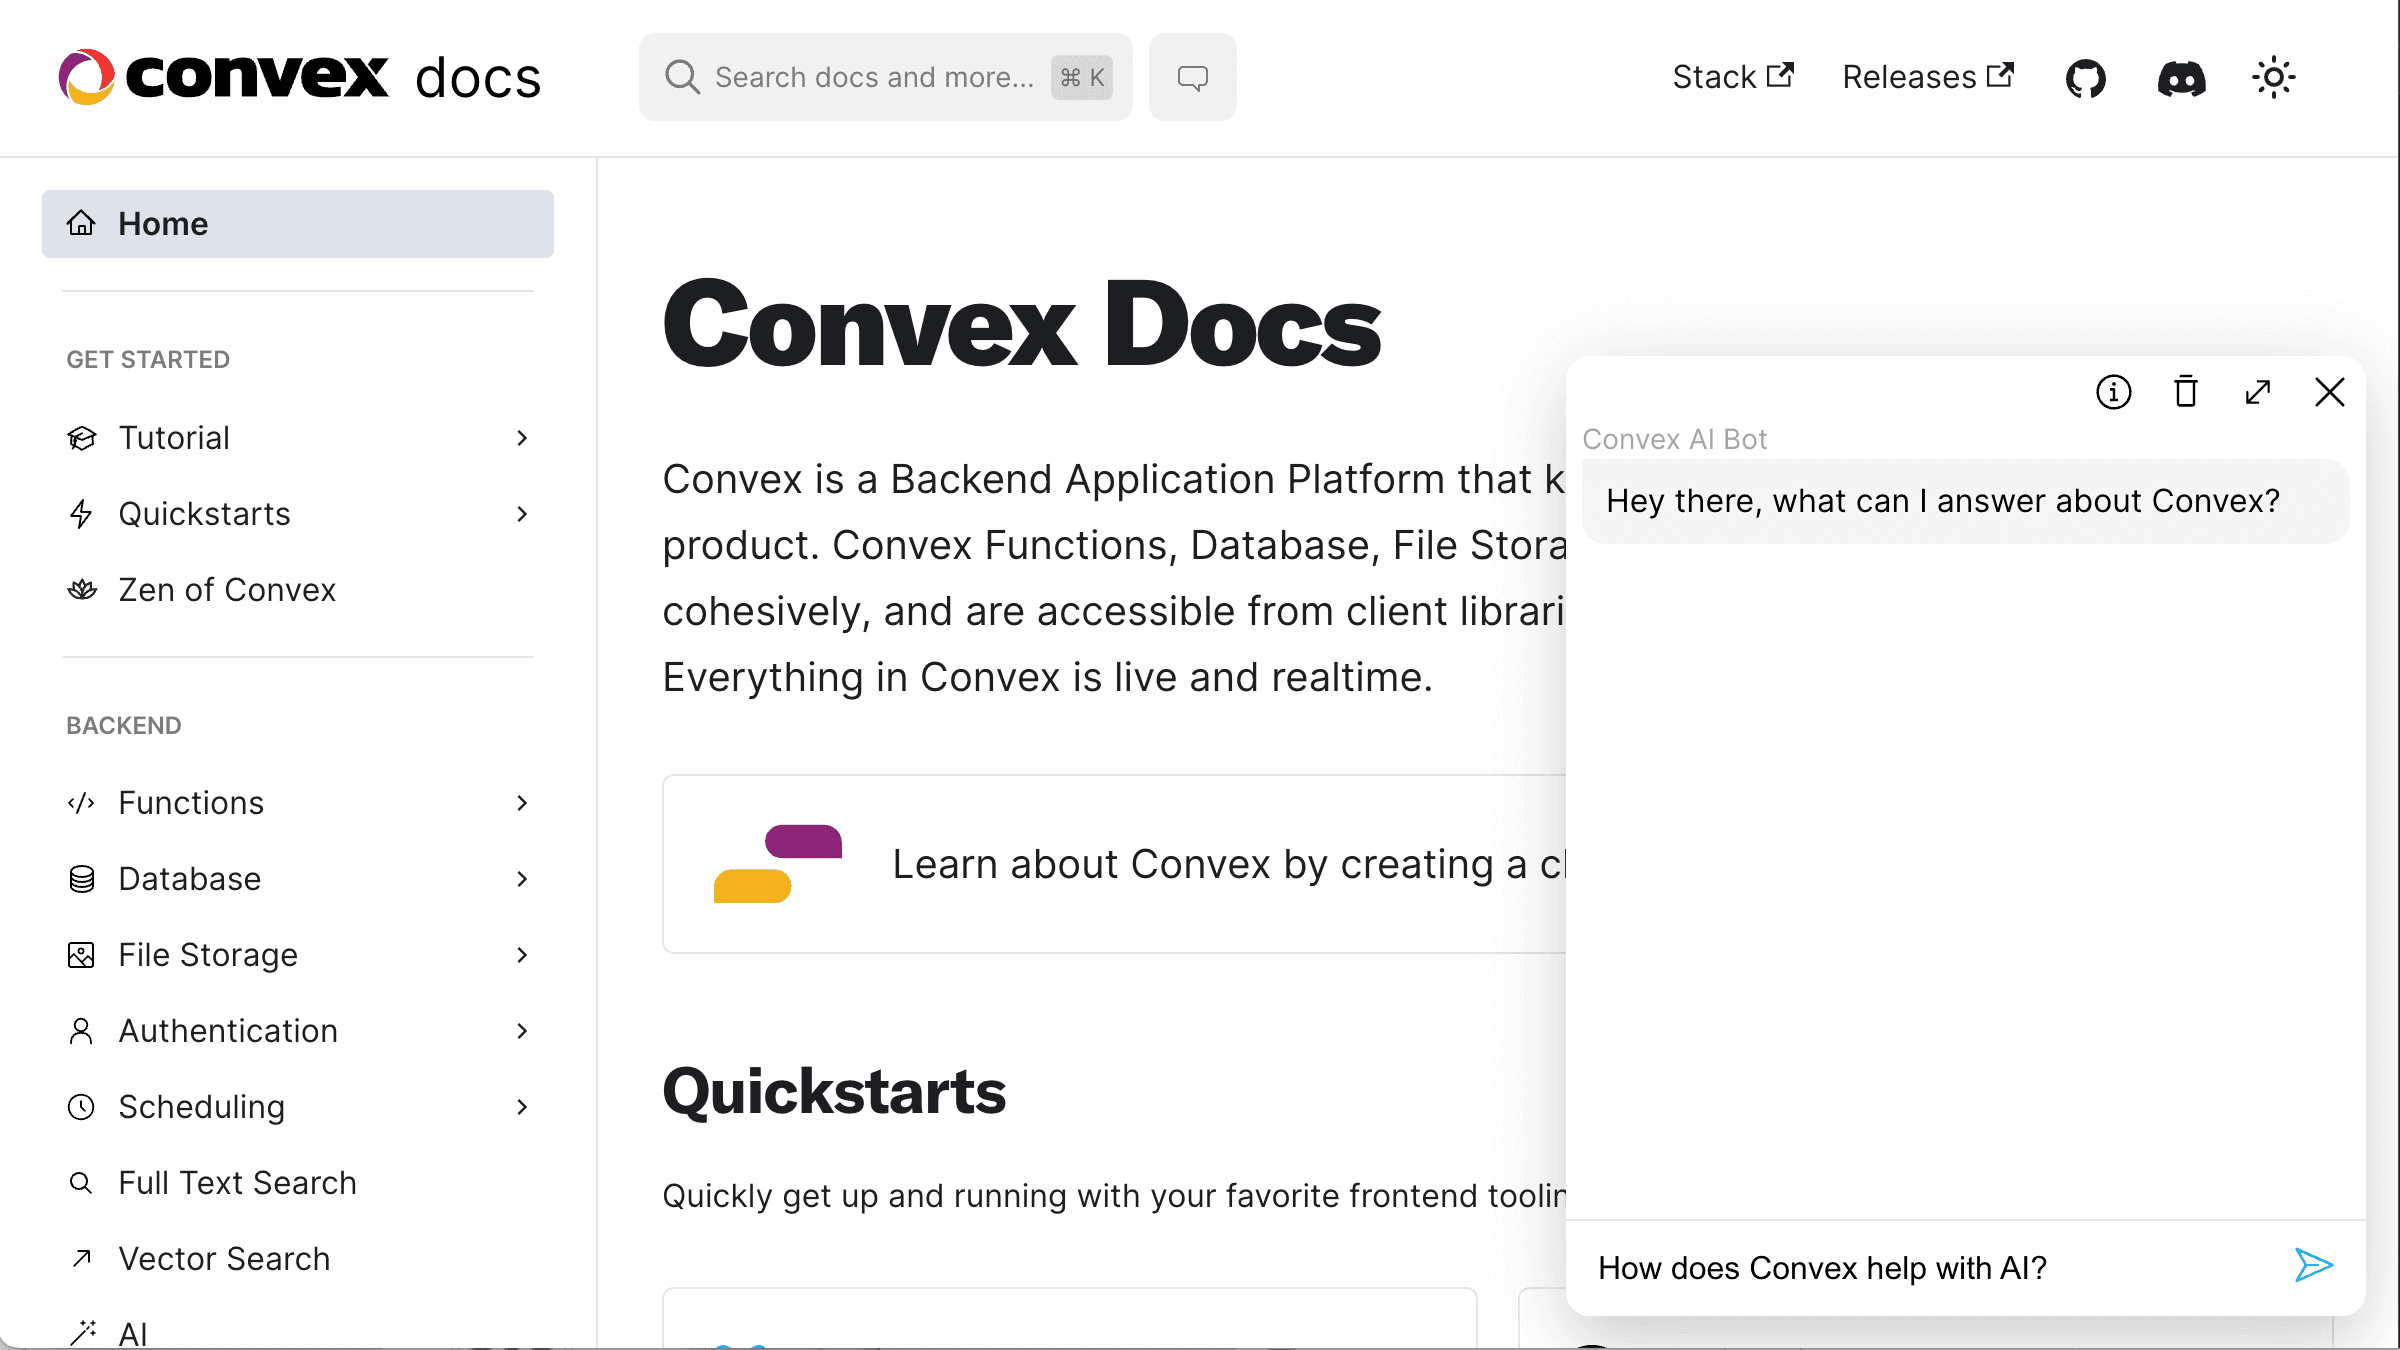
We’ll build an AI chatbot for the Convex docs site. You can go to the docs now and interact with the bot there:
docs screenshot with ai chat bot
Overview of RAG chat
Here’s a graphical overview of the steps involved. Unlike in our previous posts, we will be implementing all steps ourselves, using Convex for storage and search, and OpenAI for creating embeddings and LLM chat completion.
 rag chat process overview
We need to load our data, optionally split it, and then “embed” it (run it through a model that encodes the data into an array of numbers). This step needs to happen at least once, but we probably want to run it periodically as the source data (in our example the Convex docs pages and other information about Convex) changes.
After we ingest data, we can serve traffic, in our case reply to user questions and follow-ups. Each question can be embedded (using the same model that we used during the ingest step), and then the embedding is used to look up the most relevant contextual data. We then pass on this data, the question, and any chat history to the LLM as a prompt, and return back to the user the LLM’s answer.
Schema
We’ll start with our schema, which gives a good overview of what data will our database store (source):
1export default defineSchema({
2  messages: defineTable({
3    // Whether the message is from the AI or the human
4    isViewer: v.boolean(),
5    // Which conversation this message belongs to
6    sessionId: v.string(),
7    // Message content
8    text: v.string(),
9  }).index("bySessionId", ["sessionId"]),
10  documents: defineTable({
11    // The original page URL for the document
12    url: v.string(),
13    // The parsed document content
14    text: v.string(),
15  }).index("byUrl", ["url"]),
16  chunks: defineTable({
17    // Which document this chunk belongs to
18    documentId: v.id("documents"),
19    // The chunk content
20    text: v.string(),
21    // If the chunk has been embedded, which embedding corresponds to it
22    embeddingId: v.union(v.id("embeddings"), v.null()),
23  })
24    .index("byDocumentId", ["documentId"])
25    .index("byEmbeddingId", ["embeddingId"]),
26  // the actual embeddings
27  embeddings: defineTable({
28    embedding: v.array(v.number()),
29    chunkId: v.id("chunks"),
30  })
31    .index("byChunkId", ["chunkId"])
32    .vectorIndex("byEmbedding", {
33      vectorField: "embedding",
34      dimensions: 1536,
35    }),
36});
37
We’ll refer to these tables as we go.
Since we’ll be using the OpenAI SDK, we’ll set our OPENAI_API_KEY in the environment variable settings on Convex dashboard.
Ingest data: Loading & splitting data
How the data is loaded depends on what it is, whether webpages, PDFs, spreadsheets, scanned documents or any other source. This is the first complexity we encounter when building a system like this, and the choices we make here will have a downstream impact. For example, unless we coerce the LLM to format its answers in specific ways, it is likely to mimic the contextual data we provide it.
In the case of Convex docs, we would like the LLM to reply in markdown, which we can render into a rich text representation in the future. While we have the source of the docs, also in markdown, for our documentation chatbot we still opted to scrape our own website. Our docs include snippets and other content that does not show up until they are rendered into HTML.
You can see the 100 lines of code that perform the parsing from HTML to markdown here. While we could use an existing library, writing this code ourselves gives us the most control over the output - a theme that will repeat throughout this post.
To test this scraping code out we build ourselves an endpoint that takes a single page URL, parses the page, splits it up into chunks, and saves it in the database (source):
1export const fetchSingle = internalAction({
2  args: {
3    url: v.string(),
4  },
5  handler: async (ctx, { url }) => {
6    const response = await fetch(url);
7    const text = parsePage(await response.text());
8    if (text.length > 0) {
9      await ctx.runMutation(internal.ingest.load.updateDocument, { url, text });
10    }
11  },
12});
13
14export const updateDocument = internalMutation(
15  async (ctx, { url, text }: { url: string; text: string }) => {
16    const latestVersion = await ctx.db
17      .query("documents")
18      .withIndex("byUrl", (q) => q.eq("url", url))
19      .order("desc")
20      .first();
21
22    const hasChanged = latestVersion === null || latestVersion.text !== text;
23    if (hasChanged) {
24      const documentId = await ctx.db.insert("documents", { url, text });
25      const splitter = RecursiveCharacterTextSplitter.fromLanguage("markdown", {
26        chunkSize: 2000,
27        chunkOverlap: 100,
28      });
29      const chunks = await splitter.splitText(text);
30      await map(chunks, async (chunk) => {
31        await ctx.db.insert("chunks", {
32          documentId,
33          text: chunk,
34          embeddingId: null,
35        });
36      });
37    }
38  }
39);
40
Some noteworthy details:
- We don’t store pages with no text
- We’re using the
byUrlindex to ensure that we only store a new version of a given page if the content has changed- We do keep the existing data in the database since we don’t want to degrade the performance of the AI chat while we’re updating the scraped data. We can delete the stale data after successful update.
We also chunk the document text, for two reasons:
- We want to make sure our contextual data fits in the LLM’s prompt.
- Smaller chunks will be semantically more focused, and so we might get better results for specific user questions.
Since we have total control over this setup, we can easily optimize it. For example, instead of storing the full document text in both the "documents" table and split-up in the "chunks" table, we could store only a hash of the text in the "documents" table to determine whether the chunks need updating.
When we’re satisfied with the parsing we can use an action to scrape the whole website. Luckily our docs site has a site map, which will make it really easy (source).
Ingest data: Embedding data
For creating the embeddings for our documents we’ll use OpenAI’s API. This is our simple wrapper around the API (source):
1export async function embedTexts(texts: string[]) {
2  if (texts.length === 0) return [];
3  const openai = new OpenAI();
4  const { data } = await openai.embeddings.create({
5    input: texts,
6    model: "text-embedding-ada-002",
7  });
8  return data.map(({ embedding }) => embedding);
9}
10
Since we’ll want to run the embedding periodically, we structured our code to take in a list of document IDs, and we’ll first check which chunks need an embedding (source):
1export const chunksNeedingEmbedding = internalQuery(
2  async (ctx, { documentId }: { documentId: Id<"documents"> }) => {
3    const chunks = await ctx.db
4      .query("chunks")
5      .withIndex("byDocumentId", (q) => q.eq("documentId", documentId))
6      .collect();
7    return chunks.filter((chunk) => chunk.embeddingId === null);
8  }
9);
10
With this function in place, we can write the logic for embedding a list of documents (source):
1export const embedList = internalAction({
2  args: {
3    documentIds: v.array(v.id("documents")),
4  },
5  handler: async (ctx, { documentIds }) => {
6    const chunks = (
7      await map(documentIds, (documentId) =>
8        ctx.runQuery(internal.ingest.embed.chunksNeedingEmbedding, {
9          documentId,
10        })
11      )
12    ).flat();
13
14    const embeddings = await embedTexts(chunks.map((chunk) => chunk.text));
15    await map(embeddings, async (embedding, i) => {
16      const { _id: chunkId } = chunks[i];
17      await ctx.runMutation(internal.ingest.embed.addEmbedding, {
18        chunkId,
19        embedding,
20      });
21    });
22  },
23});
24
With this action, we can again test that the embedding works as expected before we run the action for embedding all documents (source). And because we made sure to not re-embed text that’s already embedded, we don’t have to worry about how many times we run this action.
Serving traffic: answering a question
When a user hits send in our little chat box, we’ll kick off our serving answering logic (source):
1export const send = mutation({
2  args: {
3    message: v.string(),
4    sessionId: v.string(),
5  },
6  handler: async (ctx, { message, sessionId }) => {
7    await ctx.db.insert("messages", {
8      isViewer: true,
9      text: message,
10      sessionId,
11    });
12    await ctx.scheduler.runAfter(0, internal.aiChat.serve.answer, {
13      sessionId,
14    });
15  },
16});
17
The scheduler.runAfter(0, …) call is Convex parlance for “run an async job immediately”.
We implement the LLM-backed answering in one 80-line function (source). Let’s break it down:
1export const answer = internalAction({
2  args: {
3    sessionId: v.string(),
4  },
5  handler: async (ctx, { sessionId }) => {
6
We take in the sessionId argument which identifies which thread needs an answer. Then:
1    const messages = await ctx.runQuery(internal.serve.getMessages, {
2      sessionId,
3    });
4    const lastUserMessage = messages.at(-1)!.text;
5
6    const [embedding] = await embedTexts([lastUserMessage]);
7
Next, we find the messages for the thread and embed the last message. Since we expect this action to only be scheduled after a user sends a message, we can assume that the last message is indeed from the user. Then:
1    const searchResults = await ctx.vectorSearch("embeddings", "byEmbedding", {
2      vector: embedding,
3      limit: 8,
4    });
5
6    const relevantDocuments = await ctx.runQuery(internal.serve.getChunks, {
7      embeddingIds: searchResults.map(({ _id }) => _id),
8    });
9
We find the 8 most relevant documents for the given message (first performing a search that gives us the embeddings’ IDs, then mapping those to the chunk IDs). Let’s look at the rest of the function:
1    const messageId = await ctx.runMutation(internal.serve.addBotMessage, {
2      sessionId,
3    });
4
5    try {
6      const openai = new OpenAI();
7      const stream = await openai.chat.completions.create({
8        model: "gpt-4-32k",
9        stream: true,
10        messages: [
11          {
12            role: "system",
13            content:
14              "Answer the user question based on the provided documents " +
15              "or report that the question cannot be answered based on " +
16              "these documents. Keep the answer informative but brief, " +
17              "do not enumerate all possibilities.",
18          },
19          ...(relevantDocuments.map(({ text }) => ({
20            role: "system",
21            content: "Relevant document:\n\n" + text,
22          })) as ChatCompletionMessageParam[]),
23          ...(messages.map(({ isViewer, text }) => ({
24            role: isViewer ? "user" : "assistant",
25            content: text,
26          })) as ChatCompletionMessageParam[]),
27        ],
28      });
29      let text = "";
30      for await (const { choices } of stream) {
31        const chunk = choices[0].delta.content;
32        if (typeof chunk === "string" && chunk.length > 0) {
33          text += choices[0].delta.content;
34          await ctx.runMutation(internal.serve.updateBotMessage, {
35            messageId,
36            text,
37          });
38        }
39      }
40    } catch (error: any) {
41      await ctx.runMutation(internal.serve.updateBotMessage, {
42        messageId,
43        text: "I cannot reply at this time. Reach out to the team on Discord",
44      });
45      throw error;
46    }
47
First, we insert an empty message into the thread. This will enable us to show the “thinking” indicator back to the user.
We then call OpenAI’s GPT model. In this implementation, we use the stream argument to enable result streaming. This will lead to a better experience for our users, but we could have chosen not to use it as well (perhaps if our UX wasn’t quite the traditional chat app). With Convex, we don’t actually stream the results chunk by chunk to the client, instead, we accumulate the added chunks, store them in the message, and let Convex update the UI every time (via automatic reactivity). The resulting UX is just the same (see this article for more details).
Finally, we handle any errors by replacing the message text. We could have also decided to leave any partial message in place. We re-throw the error to get the best debugging experience.
Serving traffic: listing messages
There’s only one more endpoint left to cover, and that’s the query that returns messages for a given session (source):
1export const list = query({
2  args: {
3    sessionId: v.string(),
4  },
5  handler: async (ctx, args) => {
6    return await ctx.db
7      .query("messages")
8      .withIndex("bySessionId", (q) => q.eq("sessionId", args.sessionId))
9      .collect();
10  },
11});
12
The client subscribes to this query and will get all messages for the session, automatically updating when new messages are added. Learn more about Convex reactivity here.
And that’s it! The backend for our RAG chat is complete.
Debugging tip
If you’re trying to debug the question-answering logic, it can be helpful to log the retrieved document chunks:
1// In convex/serve.ts, in the `answer` action:
2console.log(lastUserMessage, relevantDocuments);
3
Then check out the logs page on your Convex dashboard to see the context that was passed to the LLM.
Frontend Implementation
You can find the front-end implementation of our chat box here. It is only about 250 lines of React and Tailwind CSS, but it does pack a lot of functionality:
- Realtime reactive updates with the LLM replies.
- Preserving the session ID in
sessionStorage(so it survives page reloads). - Scrolling to the bottom of the thread.
- Stop scrolling if the user scrolls up.
- Opening the dialog in a React portal.
- Disabling the send button when the input is empty.
- Two different UIs: Small in the corner of the page and expanded.
- Info icon with a tooltip for additional education/disclaimer.
- Loading indicators
- Dark mode
If you check out the repo you can see that Convex is only used for the chat modal. This is a good example if you want to drop the chat component into an existing website.
Conclusion
Sticking with Convex, instead of with the Assistant API or LangChain as we did in previous posts, we have full control over our AI system. We also have end-to-end type safety and consistency guarantees. We can log any data flowing through our system, and we can easily inspect the data stored in the database to debug why certain questions lead to given answers. Continue to the final post in this series to read more about the tradeoffs between different AI product implementations.
Convex is the backend platform with everything you need to build your full-stack AI project. Cloud functions, a database, file storage, scheduling, workflow, vector search, and realtime updates fit together seamlessly.