
Self-Hosting with Convex: Everything You Need to Know
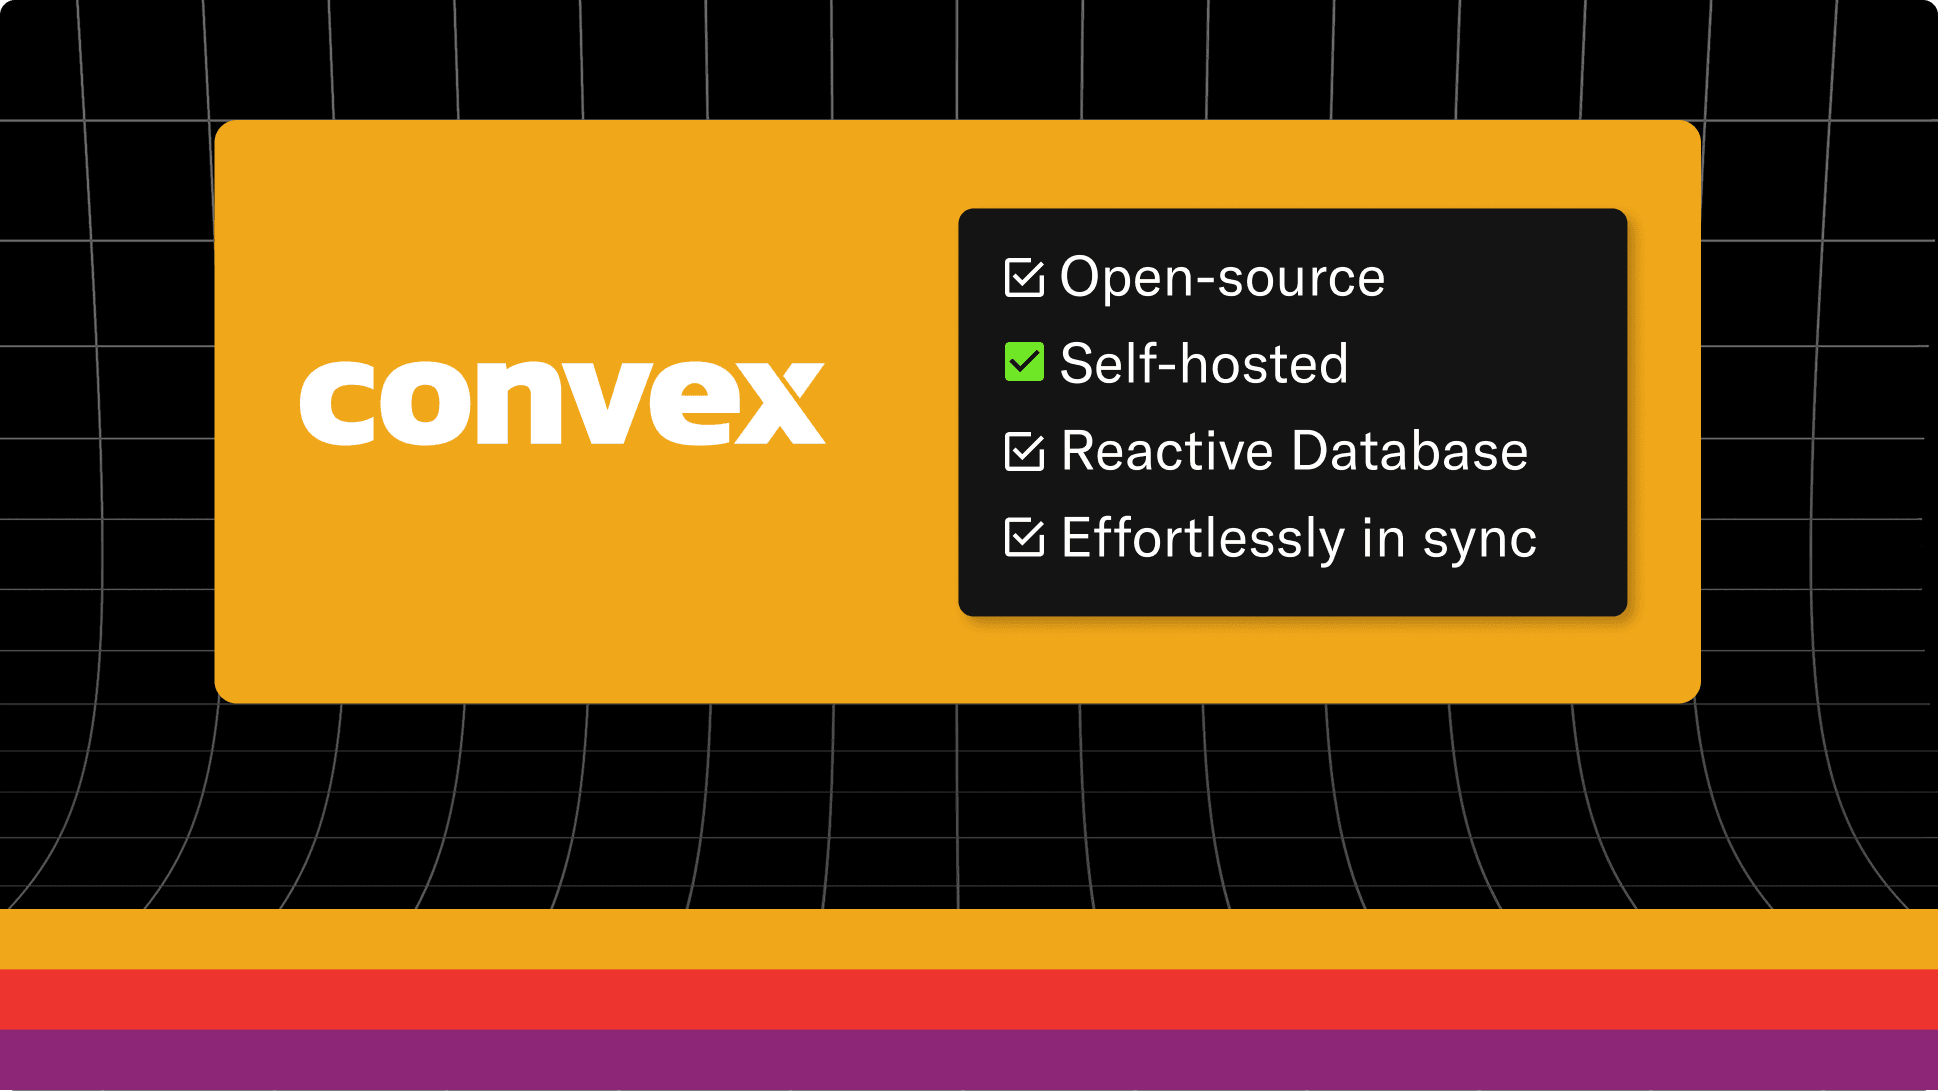
Have you been interested in Convex, the reactive database and backend, but have wanted to run it on your own hardware? If so, I have great news for you. It’s never been easier to self-host a Convex-powered app, now including the Convex dashboard, an essential tool for development.
Want to learn more about Convex? Check out the docs; especially the tutorial.
Overview
In this article we’ll walk through:
- How to develop against a local or remote Docker container.
- How to deploy a Convex backend to Fly.io.
- How to use your own database underneath, like Neon.tech for managed Postgres.
- How to deploy a frontend to Netlify or Vercel that communicates with the self-hosted Convex backend.
What does self-hosting mean?
By default, when you have a Convex project, you deploy your code to our hosted cloud service. We “host” your app, in that we run the code, house the data, dynamically scale, load balance, recover from failures, monitor health, and all the other fun work that goes with running a system at scale.
Self-hosting means you want to run your code on a machine you’re responsible for. If it turns off, you need to turn it back on. If the database fails, hopefully you set up replication and backups.
Convex provides its backend code for app developers to fork and modify, pre-built binaries for those who don’t care to compile it, Dockerfiles and pre-built container images, and Docker Compose configs so it’s easy to spin up and configure both a backend and dashboard. For simplicity, these are configured to run all services as a single-node instance.
Is this the same as local development?
While you can locally develop with the self-hosting setup described here, the Convex cloud hosting product also allows for local development out of the box. As part of npx convex dev you can pick whether your development instance runs locally or in the cloud. The instructions in this post are specific to developing with the self-hosted backend.
Self-hosting pros and cons
Pros:
- Use a private network or run it in a virtual private cloud (VPC).
- Quickly spin up an arbitrary number of backends, e.g. for realistic automated testing.
- Fully control where data lives. If you have restrictions on where your data lives, you can run a self-hosted instance wherever you like.
Cons:
- Scaling. By default, the self-hosted backend needs to run on a single machine. If you want to scale it, you’ll need to modify the open-source backend code to scale the various services for your own infrastructure. If your app needs to scale, the Convex hosted product is a safer (and likely cheaper) bet, thanks to the team’s expertise in scaling and optimizing large distributed systems.
- Upgrading and migrations. If you want to update the backend to the latest backend version, you’ll need to run the necessary migrations on your database and manage a rollout. See here for instructions.
- Support. Self-hosting doesn’t currently have a support plan available from the Convex team.
Self-hosting setup
Here we’ll assume we’re in a Convex project. Make one with npx create convex@latest, cloning a template, adding it to your app with a quickstart, or by cloning an existing app.
Options: While not exhaustive, here’s three ways to self-host Convex. We’ll look at setting it up in each, then the common steps for configuration and development.
Option 1: Hosting the backend on Fly.io
To quickly self-host in the cloud without managing containers yourself, the easiest option is Fly.io. Check out this slick video to see it in action:
The full docs are here but the gist is:
1npx degit get-convex/convex-backend/self-hosted/fly fly
2cd fly/backend
3fly launch
4
Generate an admin key for the dev workflow and to use the dashboard below.
1fly ssh console --command "./generate_admin_key.sh"
2
Be sure to set these environment variables, either in your fly.toml or with this command:
1fly secrets set CONVEX_CLOUD_ORIGIN="<fly-app-url>" CONVEX_SITE_ORIGIN="<fly-app-url>/http"
2
See option 3 for a description of these variables.
Option 2: Using Docker Compose
The easiest way to start up the self-hosted backend locally is to use this docker-compose.yml file.
For full the instructions, check the README.md here.
1# Copy the docker-compose.yml file locally
2npx degit get-convex/convex-backend/self-hosted/docker/docker-compose.yml docker-compose.yml
3# Pull the latest docker images
4docker compose pull
5# Run the containers
6docker compose up
7
Generate an admin key to authorize deployments and dashboard access:
1docker compose exec backend ./generate_admin_key.sh
2
To see the dashboard, go to http://localhost:6791 and enter the admin key.
You’ll also use this for the dev workflow below.
Note: The environment variables in the file default to running on localhost. If you host it elsewhere, be sure to set the environment variables listed in the next section in the docker-compose.yml file or when running the docker commands.
Option 3: Docker containers on a remote server
You can either build your own containers based on the files here, or use the pre-built images referenced by the docker-compose.yml file referenced above. In that file you’ll also see environment variables you can use to configure the backend. Specify these as environment variables for your container at runtime. Notable ones are:
CONVEX_CLOUD_ORIGINis where you host the backend that typically talks to the 3210 port, and is the equivalent of the https://furry-animal-123.convex.cloud url in the hosted product. It’s accessible asprocess.env.CONVEX_CLOUD_URL.CONVEX_SITE_ORIGINis for the 3211 port that hosts your http action endpoints, equivalent to https://furry-animal-123.convex.site in the hosted product. It’s accessible asprocess.env.CONVEX_SITE_URLand often used to register webhooks.
See here for more details.
Generate an admin key by ssh-ing into or running exec on the container and running ./generate_admin_key.sh in the /convex directory. You’ll use this for the dev workflow and to use the dashboard below.
Hosting the database on Neon.tech
By default, the self-hosted binary and containers use SQLite. You can also use Postgres, managed or otherwise. You just need to provide the backend with the DATABASE_URL environment variable, which is a connection URL for your database (without anything after the domain), like:
1DATABASE_URL=postgresql://user:password@my-database.us-east-2.aws.neon.tech
2
Just make sure there’s a database in there called convex_self_hosted. See the docs.
1psql $DATABASE_CONNECTION -c "CREATE DATABASE convex_self_hosted"
2
Note: the further your database is from your Convex backend, the slower your app will be. Ideally they are in the same datacenter! Convex’s hosted platform do a single record query in ~1ms because it’s co-located.
Development workflow
Once you have the backend deployed, you can start deploying code to it. Confused
Use these environment variables either locally or in your local repo or CI / CD scripts:
1# put in .env.local to have `npx convex dev` work automatically
2CONVEX_SELF_HOSTED_URL='https://<your-backend-url>'
3CONVEX_SELF_HOSTED_ADMIN_KEY='<your admin key>'
4
You can then run npx convex dev or npx convex deploy as usual. Note: it won’t allow a mix of cloud and self-hosted environment variables, to prevent you from deploying to the wrong spot.
Using the dashboard for a self-hosted backend
The Convex dashboard is a great way to inspect your data, see logs, run functions, and more. The code and Dockerfile and pre-built container is also open-source and available.
While you can host the dashboard remotely on Fly.io (docs) or via a Docker container (docs), you can also run it locally with Docker as you need it:
1docker run -e 'NEXT_PUBLIC_DEPLOYMENT_URL=<your-backend-url>' -p '6791:6791' 'ghcr.io/get-convex/convex-dashboard:latest'
2
Then visit it at http://localhost:6791 and enter the admin key you generated above. This is my preferred strategy when working with remote hosting, as it avoids running something that is only used occasionally.
To run it on Fly or Docker, check out the Docker and Fly docs.
Connecting your frontend to the self-hosted backend
The only difference in having your frontend talk to the self-hosted backend is to set the right environment variable so the frontend client points to the cloud-equivalent URL. For instance, for a Vite app with a backend deployed to https://example-project.fly.dev:
1VITE_CONVEX_URL="<https://example-project.fly.dev>"
2
And ensure your Vite code loads that environment variable:
1const convex = new ConvexReactClient(import.meta.env.VITE_CONVEX_URL as string);
2
Follow one of the quickstarts to see the full setup for your framework or language.
When initiating a deploy from a hosting provider, follow docs for Netlify, Vercel, or otherwise, but set the CONVEX_SELF_HOSTED_URL and CONVEX_SELF_HOSTED_ADMIN_KEY environment variables instead of CONVEX_DEPLOY_KEY.
Voilà!
Now you have your Convex backend self-hosted, and you can push and sync code to it, just as you would the cloud product. And if you want to migrate to the cloud product, or vice-versa, you can use npx convex export and npx convex import to move your data.
What could go wrong?
While the process of setting up a self-hosted backend is very simple, the work to run a production system is never easy. Here are some things to consider when going down this path:
Backend versioning and migrations
- When you initially use a docker image, if it’s targeting
latestyou should “pin” it to a specific version, to avoid the version changing unintentionally beneath you. - Each new version of the backend may require a database migration. And this isn’t referring to your app’s Convex tables and documents, but the underlying layer where Convex stores it all. In order to update backend versions, you need to run each of the SQL migrations for all versions between your current and target version, or export and import all of your data. See here for more information.
Failure recovery
All machines fail eventually. How you respond is what’s important.
- Replicate your database and save snapshots to recover from big incidents or bugs.
- If you’re only using SQLite, at least make sure it’s on its own volume that can be mounted to a new container.
- Configure monitoring, alerting, dashboards, oncall rotations, and other processes for your level of operational maturity.
- Use tools that automatically restart failed processes, restart machine failures, and replace bad machines, like Fly does.
Scaling
- Ensure it’s running on a machine with enough memory, CPU, and disk space for your workload. Having good monitoring helps here.
- The self-hosted Docker image and pre-built binaries are single-node versions of Convex. In the hosted cloud service, there are many services that can scale independently, whether it’s for text search, running functions, or handling WebSocket connections.
- If you need it to scale, you’ll have to roll up your sleeves and dig into the Rust codebase to separate out the services and build a distributed system.
Next steps
Want to get started? Check out some of these references and examples:
- Read the self-hosting docs.
- Try running AI town with self-hosting instructions for docker compose locally or Fly.io deployment.
- Learn more about Convex in the tutorial.
Convex is the reactive backend platform that keeps up with you and your agents. Database, functions, workflow, sync, search, file storage, and more. All TypeScript, zero glue.