
Seeding Data for Preview Deployments
No one likes to open up a website and see an empty UI. Or worse, to start up a fresh clone of a project to a host of errors because some configuration is expected to be in your brand-new database. Now that preview deployments make it easier than ever to test out backend changes, it’s especially helpful to have a fast way to populate a new database instance during development.. How can you bootstrap your project’s data on a fresh install?
In this post we’ll look at some options for “seeding” your database. You can do this when you first create a project, every time you create a preview deployment, or whenever you want to wipe the slate clean and start over. We’ll look at a few different approaches and their pros and cons, and then I’ll share the workflow that I’ve personally found most useful. We’ll be talking about strategies for Convex, but the concepts are general.
Short on time? Feel free to skip ahead to my personal recommendations.
Three ways to add data to your project
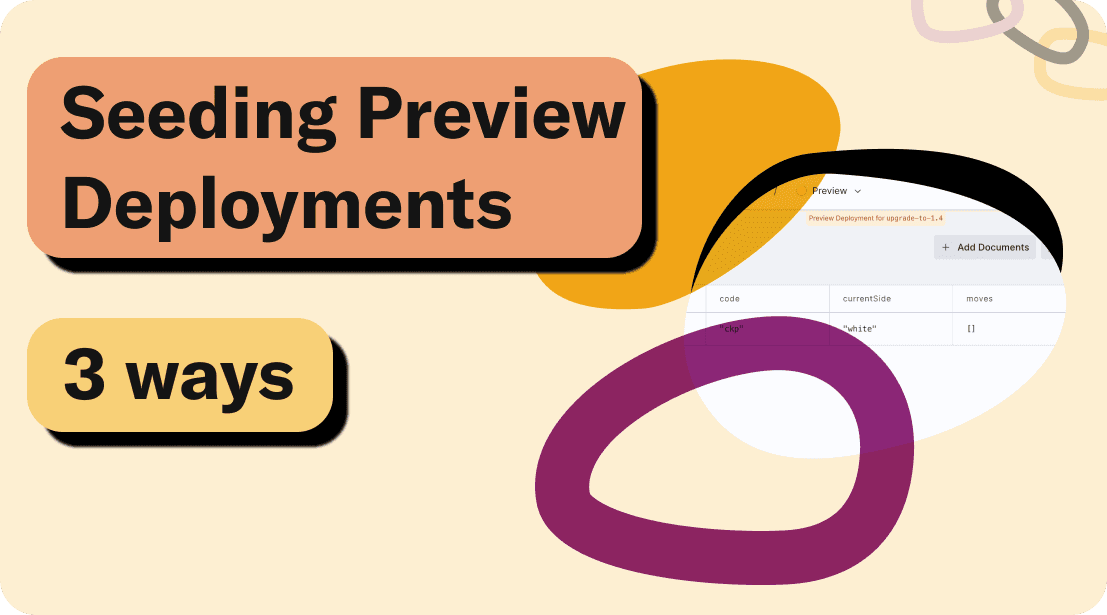
1. Manual entry on the dashboard
The most straightforward way to add data to a project is to add it yourself.
To add data in Convex, go to your dashboard, open or create the table you want to populate, and click “Add Documents” to write (or paste) JSON to define your documents. You can add many objects in an array, or one at a time.
In a SQL-based app, this would look like doing manual INSERT statements on your tables on the command line.
Pros:
- Dead simple, and fast to iterate on without changing contexts. You can go straight from inserting to editing a document in the dashboard.
Cons:
- You can only add documents to one table at a time.
- It’s a lot of typing if you aren’t copying them from a file. If you are copying from a file, see the next section for a faster way.
If you’re the only developer not using preview deployments and are infrequently making breaking schema changes, this might be all you need. If not, read on.
2. Importing from the CLI
You can use npx convex import to add a lot of data at once. If you had an array of JSON objects you were copying into your database using the dashboard, you may as well run this instead. A couple of features to point out:
- The supported data formats are CSV, a JSON array, a JSONL file, or a zip in the format of
npx convex export. - The command imports data into a single table, or many tables if it's a zip.
- You can pass
--replaceor--appendif you already have data in that table. - You have to pass
--prodto import into the prod DB. - You can use
npx convex exportto capture a snapshot of data from an app and re-import it without losing any ID references or creation timestamps.
Pros:
- You can add a lot of data at once.
- You can skip the “wipe existing data” step if you pass
--replace. - You can add documents that have references to each other if you use the zip format.
- You can script it: for previews, you can configure your build command to something like
npx convex deploy --cmd 'npm run build' && npx convex import --table mytable mydata.csv.
Cons:
- If the data doesn’t match your schema, you’re in trouble and will have to edit those data files. If you have schema validation on, the
npx convex importcommand will fail (thank you schema validation!). If you have schema validation off (or haven’t specified a schema at all), your app may break when it starts working with the data in the wrong shape.
If you have simple database tables that need to be configured with dynamic data available, this might be your ticket. You can produce CSV, JSON, or zip files as part of a build step, then import them after deploying your code. Reach out to us on Discord if you want support on more complicated setups.
3. Seeding data in code
Why not insert data the same way you would when running your app? Using the same APIs and sharing the same helpers? Here’s how it works:
- In Convex, you write data to the database in a mutation1.
- You can call mutations from the Dashboard, or from the CLI with from the CLI with one of these commands:
npx convex runif you just want to run the command once.npx convex dev --runif you want to run it and continuously sync code changes to your development deployment.npx convex deploy --preview-runif you want to run the command on a new preview deploy.
- You can configure your
package.jsonscripts to run these commands automatically, so you merely runnpm run devto both start your app and seed your data. - If you need to access 3rd party services to get seed data, you can! You can have the function run an action, which can call mutations after fetching data from an API.
- Related: see this post for tips on using Faker.js which helps avoid naming fatigue and find bugs.
Pros:
- The data can reference the same types you use in your code and database schema, so as things change, your seed scripts stay up to date automatically. Otherwise seed data has a bad habit of getting out of sync with the latest database schema.
- You can re-use helpers to create documents, both in seed data and in your production code. This can keep those codepaths well-used.
- You can have multiple seed scripts that you call from different contexts, for instance setting up dummy data for previews, data with edge cases for tests, and so on.
Cons:
- You have to write code, and keep it up to date.
- If you want to import a lot of data, your mutation will need to import that file server-side, where it runs. If this is a lot of data, it can slow down deployment.
This is my favored approach, and the one I generally use when building new Convex apps. In particular, I have the action or mutation as the default export in convex/init.ts so I can refer to it on the CLI as merely init: npx convex run init.
My workflow preference
In my projects I like to configure “seed” data in code. It can be type-checked against the latest schema and scripted to produce complicated structures.
- In my Convex project, I have a default export in
convex/init.tsthat is either a mutation or an action. Running it adds data, or returns if data has already been added, making it safe to call many times. Use aninternalMutationhere, to prevent any public client from calling your mutation. - In
package.jsonI configure my scripts to call theinitfunction when first runningnpm run devwithconvex dev --run init: full scripts setup can be seen here. - For preview deploys, I set the build command to be
npx convex deploy --cmd 'npm run build' --preview-run init. - When making a breaking change to the schema, I make the change, update the
initfunction (usually just chasing down TypeScript errors), clear tables, and re-initialize.
Summary
Storing seed data is useful for adding configuration data, dummy data for previews or during development, and more. We looked at three ways of seeding data, and you can look forward to more ways coming in the future 🤫. If you want to continue the discussion, come join us in Discord!
Footnotes
-
Note you should use an
internalMutationhere, to prevent any public client from calling your mutation. You can still run them withnpx convex run myFile:myInternalMutation,npx convex dev --run myFile:myInternalMutation, ornpx convex deploy --cmd 'npm run build' --preview-run myFile:myInternalMutation. ↩
Convex is the backend platform with everything you need to build your full-stack AI project. Cloud functions, a database, file storage, scheduling, workflow, vector search, and realtime updates fit together seamlessly.