
Convex with Auth.js (NextAuth)

Many developers have asked us for a guide for using Auth.js with Convex. Here it is!
Do you know Auth.js and Convex already, and just want to get going with a template? Clone this repo and follow its README:

Introduction to authentication and Auth.js
Auth.js (previously called NextAuth) is a library for implementing user authentication on your Next.js, SvelteKit, or Express server. We’re going to focus on Next.js for this guide.
Auth.js makes it easy to implement several authentication methods. The most popular ones, and the ones used in the example repo, are:
- Integrating OAuth providers (Github, Google, Facebook, etc.) - the docs include a list of 80 providers you can leverage. Users of your app are redirected to the OAuth provider, sign in with them, and then are redirected back to your app. This is a great option to get started with because it doesn’t require any data stored in your Convex database related to the authentication process itself.
- Sending “magic” links, which include a unique verification token, to your users’ email address. The user then clicks the link to open the app and sign in. You must store the verification links in a database, and you can use your Convex database for that.
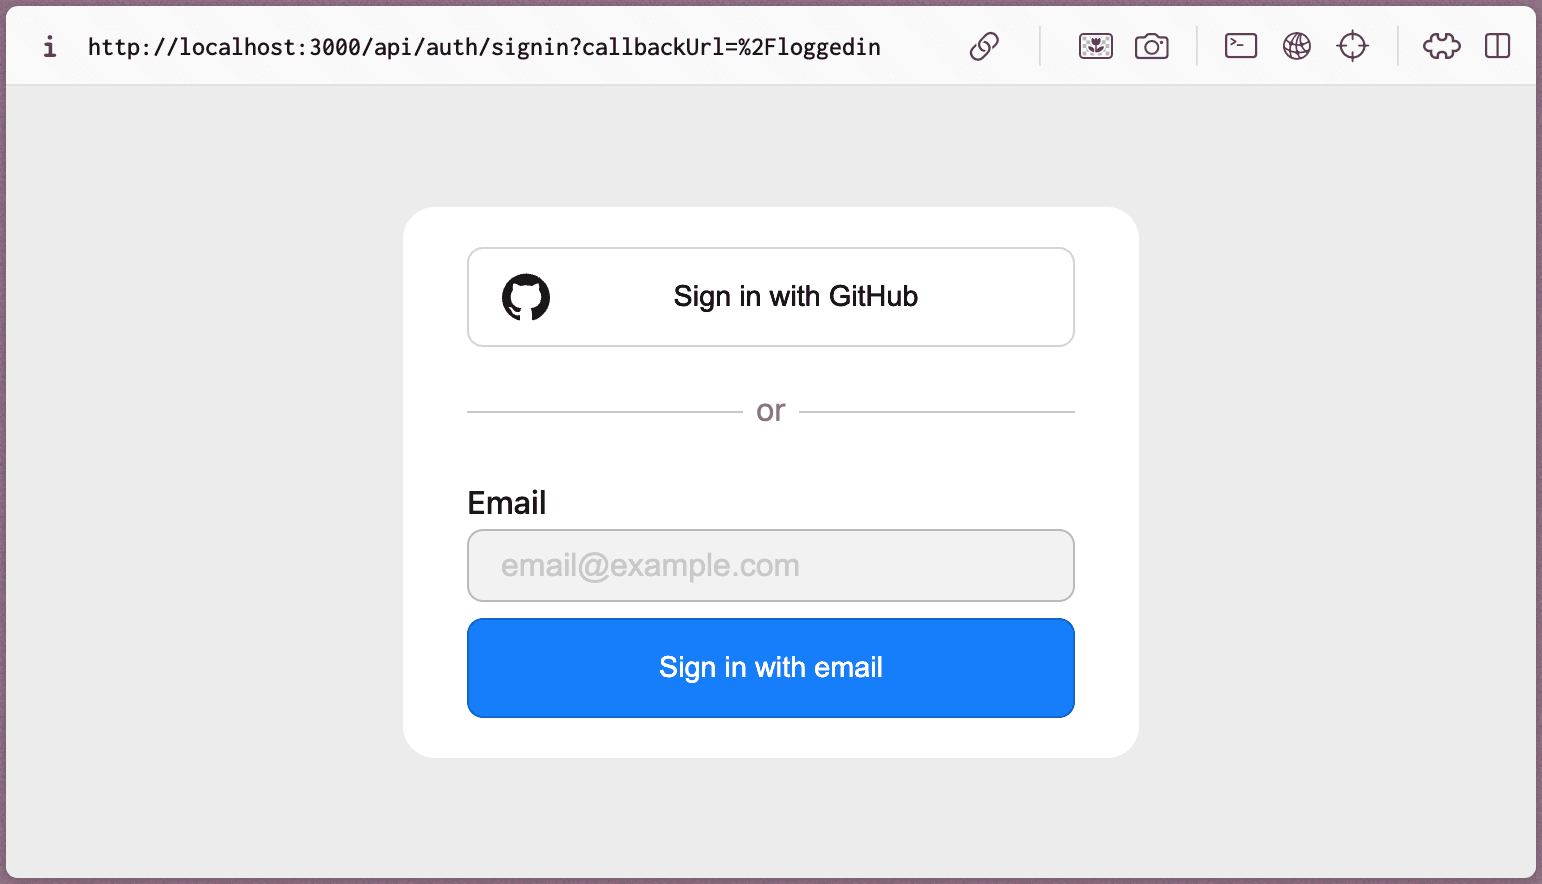 Nextauth sign in screen example
When using Auth.js with Convex, there are two servers involved: Your Next.js server, and your Convex backend. Since you fully control both servers, you can treat them as a single authentication issuer. This will significantly simplify the setup. Here’s a picture that illustrates this approach:
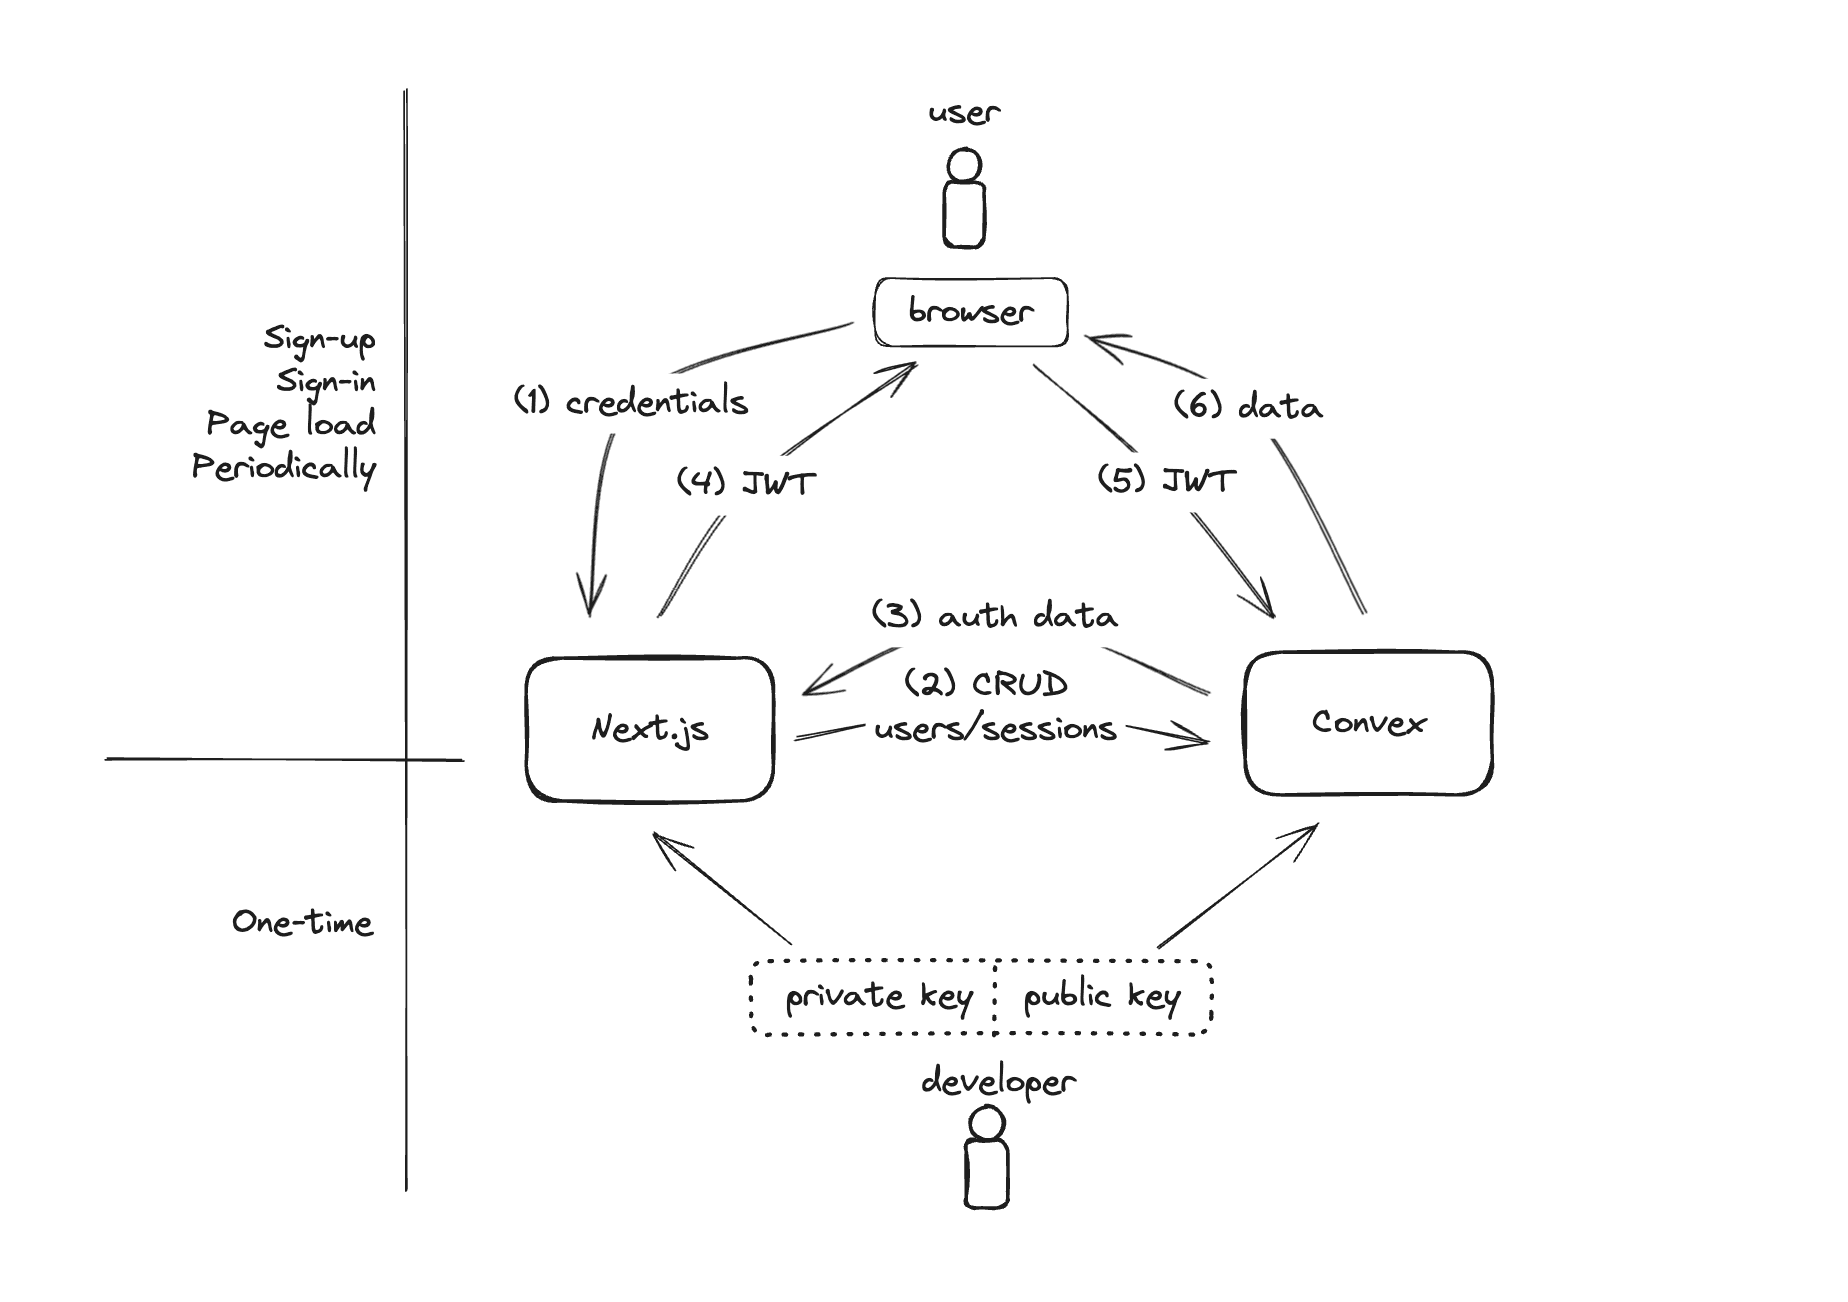 illustration of using Next.js and Convex with Auth.js
Getting started
We’ll assume that you have a working Next.js app with Convex. If you don’t, follow our quickstart to get one set up.
Set up Auth.js
Follow the Installation instructions for Auth.js.
Then pick and configure providers as shown on the Authentication page. Don’t worry about setting up a database adapter, as you’ll do that in the next step.
Set up the Convex database adapter
Follow the Convex Adapter for Auth.js article to install and set up Convex as your database adapter, and to authenticate your Convex functions.
Test it out!
You should have a working authentication with Convex and Auth.js now. When you sign in to your app, you should see a document created in the "users" table on your Convex dashboard. You can test that the authentication of function calls works by executing ctx.auth.getUserIdentity() from a query or mutation called from your app:
1import { query } from "./_generated/server";
2import { Id } from "./_generated/dataModel";
3
4export const viewerInfo = query({
5  args: {},
6  handler: async (ctx) => {
7    // Assuming this query is only called after authentication
8    const { subject: userId } = (await ctx.auth.getUserIdentity())!;
9    return await ctx.db.get(userId as Id<"users">);
10  },
11});
12
After the function is called, check your Convex logs to see the user document printed. If you don’t, you can also check your browser logs, the steps above, and as a last resort follow the authentication debugging guide.
Tips
Splitting up your app between signed in and signed out routes
The simplest approach to using authentication is to split your app’s pages between those which require authentication and those which don’t. In the example repo, we used "loggedin" as the route for the authenticated portion of the app, and we left the home "/" route as the unauthenticated entry point.
To do this, you can redirect the user after signing in to the authenticated portion, by adding redirectTo option to the signIn call on your button:
1import { signIn } from "@/auth";
2
3export function SignIn() {
4  return (
5    <form
6      action={async () => {
7        "use server";
8        await signIn(undefined, { redirectTo: "/loggedin" });
9      }}
10    >
11      <button type="submit">Sign in with GitHub</button>
12    </form>
13  );
14}
15
16
Similarly you can redirect the user back on sign-out:
1import { signOut } from "@/auth";
2
3export function SignOut() {
4  return (
5    <form
6      action={async () => {
7        "use server";
8        await signOut({ redirectTo: "/" });
9      }}
10    >
11      <button type="submit">Sign out</button>
12    </form>
13  );
14}
15
And to redirect unauthenticated users, you can change the [middleware.ts](https://github.com/get-convex/convex-nextauth-template/blob/main/middleware.ts) file:
1import { auth } from "@/auth";
2
3export default auth((req) => {
4  if (!req.auth) {
5    const url = req.url.replace(req.nextUrl.pathname, "/");
6    return Response.redirect(url);
7  }
8});
9
10export const config = {
11  matcher: ["/(loggedin.*)"],
12};
13
This middleware will execute for all routes under "loggedin", and if the user isn’t logged in they will be redirected back to the home page.
Skipping sign-in when the user is already logged in
With the implementation shown above if the user comes back to the home screen and clicks on Sign in they will see the sign in screen again, even if they have previously signed in in the same browser. You can avoid this with a small change to the button callback:
1import { signIn, auth } from "@/auth";
2
3export function SignIn() {
4  return (
5    <form
6      action={async () => {
7        "use server";
8
9        // Skip sign-in screen if the user is already signed in
10        if ((await auth()) !== null) {
11          redirect("/loggedin");
12        }
13
14        await signIn(undefined, { redirectTo: "/loggedin" });
15      }}
16    >
17      <Button type="submit">Sign in</Button>
18    </form>
19  );
20}
21
Working with sessions
Right now the JWT only stores the user’s Convex ID. You might also want to access the current session ID. Your app could use it to implement logic tied to the current session, such as session(device)-specific settings or say, separate shopping carts.
Being able to access the current session’s ID in your Convex functions is a matter of passing it to the JWT in auth.ts:
1      const convexToken = await new SignJWT({
2        // These fields will be available on `ctx.auth.getUserIdentity()`
3        // in Convex functions:
4        sub: `${session.userId};${(session as any)._id}`,
5      })
6
We chose to use the sub field to pass both the user and the session ID to leave the other fields available for their standard meaning.
With this change, you can get both IDs in your convex functions. The example repo defines helpers that can be called from Convex queries, mutations and actions:
1import { Auth } from "convex/server";
2import { Id } from "./_generated/dataModel";
3
4export async function getSessionId(ctx: { auth: Auth }) {
5  const identity = await ctx.auth.getUserIdentity();
6  if (identity === null) {
7    return null;
8  }
9  const [, sessionId] = identity.subject.split(";");
10  return sessionId as Id<"sessions">;
11}
12
13export async function getUserId(ctx: { auth: Auth }) {
14  const identity = await ctx.auth.getUserIdentity();
15  if (identity === null) {
16    return null;
17  }
18  const [userId] = identity.subject.split(";");
19  return userId as Id<"users">;
20}
21
Note on security
The Convex team does not guarantee the security of this setup. All the code is yours / open source and it is your responsibility to ensure it matches your requirements. For any security issues in Auth.js refer to their docs and for any issues with Convex itself please reach out to us at security@convex.dev.
Wrap
We hope that this enables you to finally use Auth.js with your favorite backend. Let us know if you run into any issues on our discord.
Convex is the reactive backend platform that keeps up with you and your agents. Database, functions, workflow, sync, search, file storage, and more. All TypeScript, zero glue.